How to Plan Fence Painting on a Budget: The Definitive Editorial Guide
How to plan fence painting on a budget the maintenance of residential boundary structures represents one of the most significant, yet frequently underestimated, exterior preservation tasks in property management. A fence is not merely a static partition; it is a vertical substrate subjected to a brutal, 360-degree environmental assault. Unlike the siding of a home, which is protected by a roof overhang and a conditioned interior, a fence exists in a state of permanent exposure to ground-level moisture, soil-borne microbes, and wind-driven debris. When one approaches the logistical challenge of its upkeep, the primary objective is rarely just aesthetic; it is a battle against the natural tendency of cellulose to return to the earth.
The intersection of fiscal constraint and structural longevity creates a complex decision-making environment. In the contemporary economic landscape, “budgeting” is often misinterpreted as the pursuit of the lowest immediate price point. However, in the context of outdoor timber, a low-cost intervention that fails within eighteen months is statistically more expensive than a high-performance system that survives for six years. A truly strategic plan acknowledges that labor—whether personal or contracted—is the most valuable resource involved. Therefore, the goal of a budget-conscious project is to maximize the “yield-per-hour” of that labor through superior chemical selection and environmental timing.
Planning at this depth requires a departure from transactional DIY culture. It necessitates a forensic analysis of the existing wood’s condition, a study of localized micro-climates, and an understanding of the “recoat window.” To execute a project that stands as a long-term authority asset, the homeowner must transition into the role of a facilities manager. This involves calculating the total cost of ownership rather than the cost per gallon of paint, ensuring that every dollar spent is an investment in the postponement of a much more expensive structural replacement.
Understanding “how to plan fence painting on a budget”
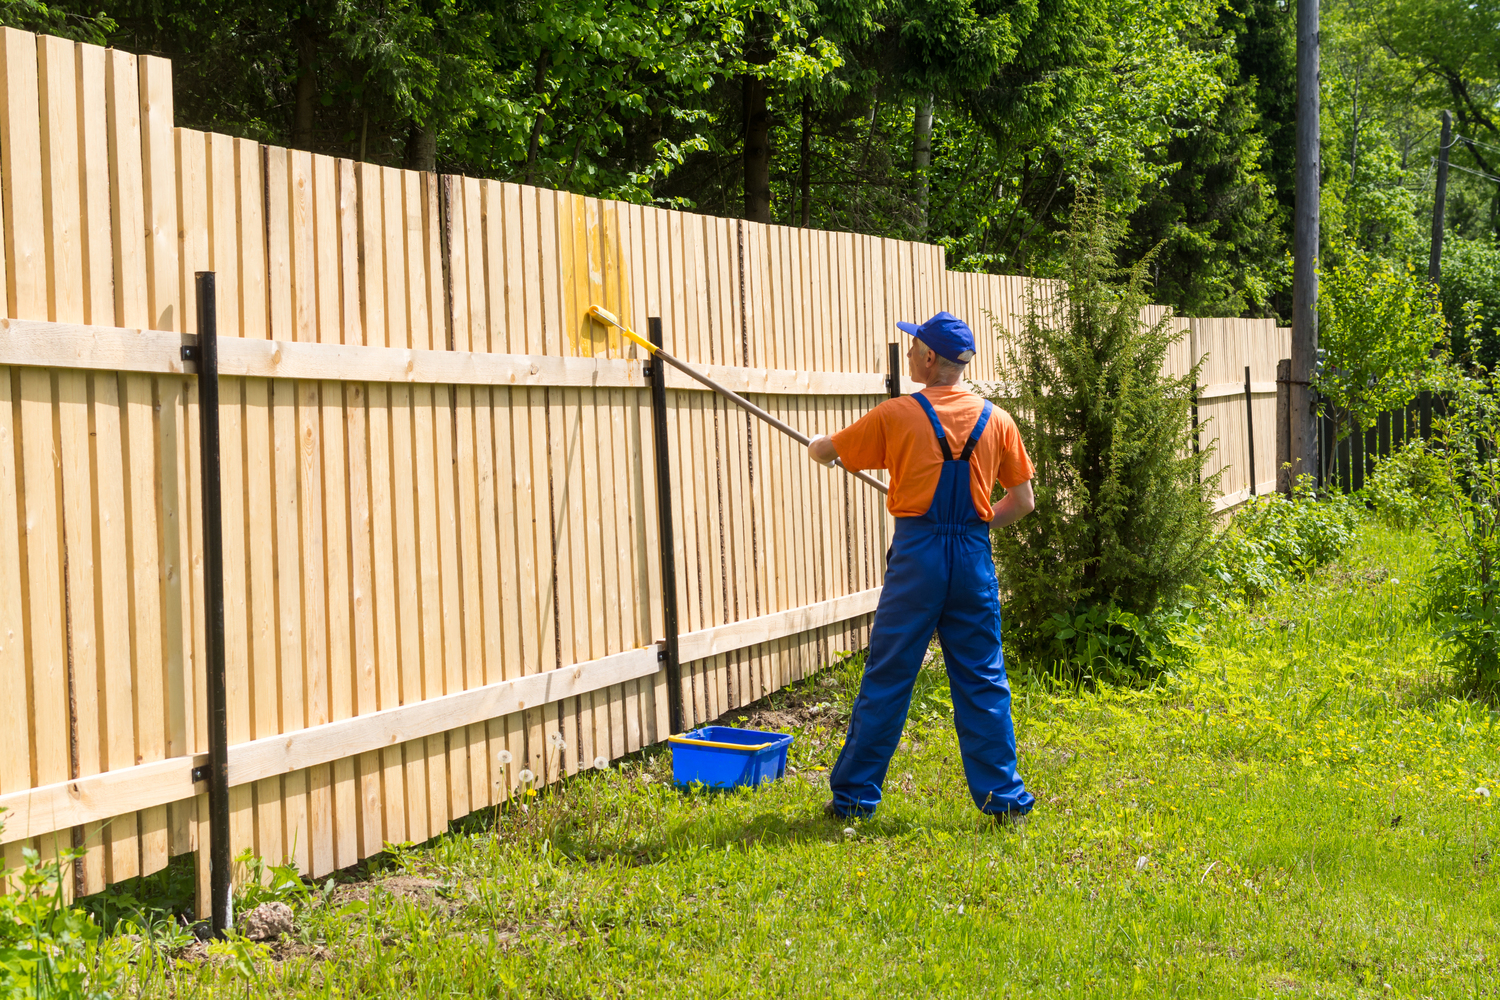
To master the technical requirements of how to plan fence painting on a budget, one must first dismantle the oversimplification that “painting” is the primary action. From a senior editorial perspective, the act of applying pigment is the final 10% of a successful project. The bulk of a budget-optimized plan is occupied by substrate stabilization and moisture management. A common misunderstanding among property owners is that paint can “hide” or “seal” damaged wood.
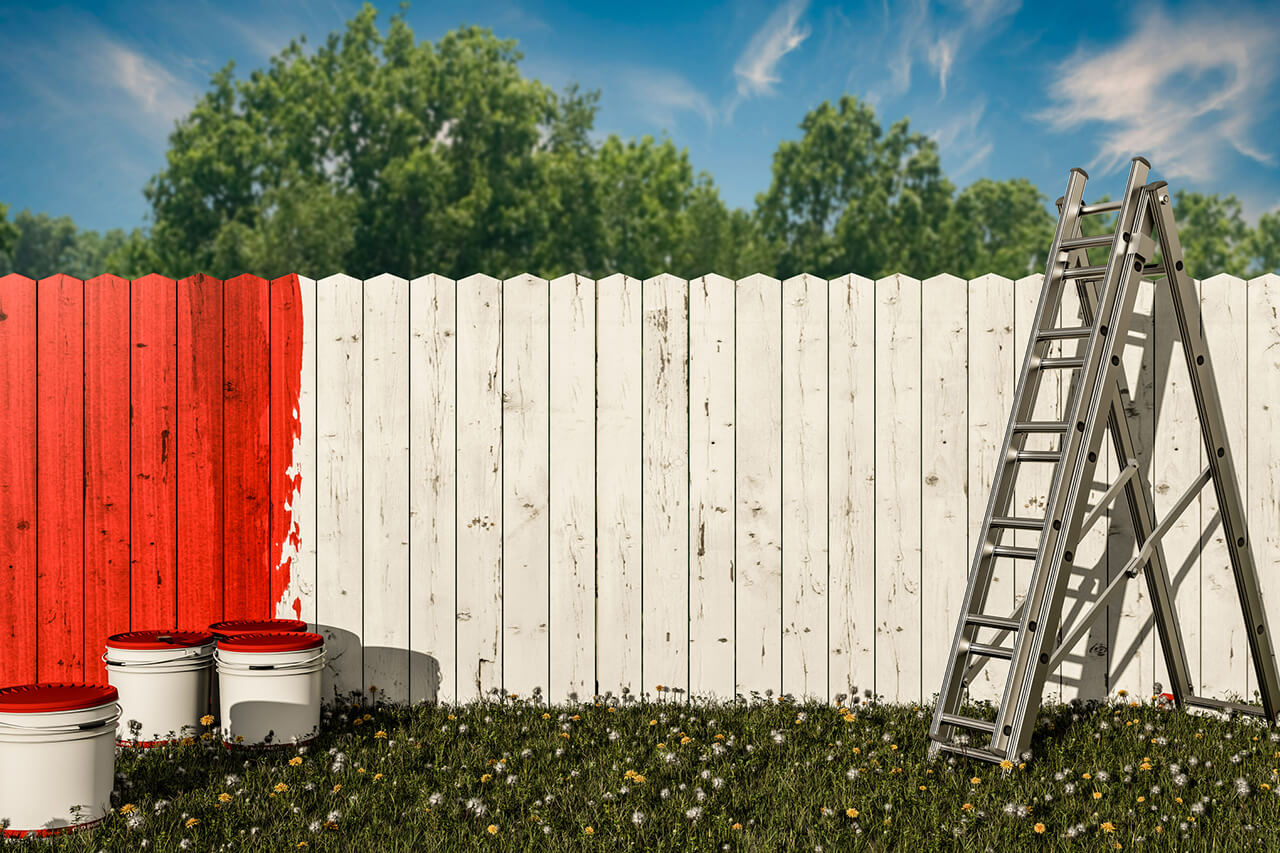
A multi-perspective analysis reveals that the risks of oversimplification are particularly high regarding “Product Volume.” When working within a budget, there is a temptation to “stretch” the paint by over-spreading or thinning. This is a fundamental strategic error. If the film is too thin, UV rays will penetrate the pigment layer and break down the resin binder within a single season. The authoritative standard for how to plan fence painting on a budget dictates that one should prioritize a high-solids material and apply it to the manufacturer’s specifications, even if it means painting only the most visible or vulnerable sections of the fence this year and deferring the rest.
Identifying the “Best” path involves a rigorous assessment of “Coating Reversibility.” A budget-conscious owner must think three to five years ahead. If you apply a cheap, low-quality solid acrylic today, you are committing yourself to a future of intensive scraping and sanding when that film eventually peels. Conversely, a high-quality penetrating stain may have a higher initial cost but requires zero mechanical removal for future maintenance. A strategic plan is one that minimizes “future labor” as much as it minimizes “current spend.”
Deep Contextual Background: The Evolution of Timber Preservation
How to plan fence painting on a budget the history of protecting American fences is a transition from “Natural Resistance” to “Chemical Warfare.” During this era, “Whitewash” (a mixture of lime and salt) was the primary budget option. It was antiseptic and breathable, but it was sacrificial, meaning it washed away over time, requiring an annual ritual of re-application.
The Mid-20th Century saw the rise of pressure-treated lumber (specifically Chromated Copper Arsenate or CCA). This shifted the burden of protection from the coating to the wood’s internal chemistry. Painting became an aesthetic choice rather than a structural necessity. However, the move away from CCA toward modern, less toxic treatments (like ACQ or CA-B) has resulted in wood that is more prone to “checking” and “cupping” as it dries. This has placed a renewed emphasis on the coating’s role in managing the rate at which wood gains and loses moisture.
Today, we occupy the Hybrid and Sustainable-Resin Epoch. For the budget-conscious planner in 2026, the challenge is navigating a market filled with “Marketing Voodoo.” The evolution of the industry has led to “One-Coat Wonders” that often fail to deliver on their promises. A definitive project relies on the oldest rule in chemistry: you cannot get something for nothing. The durability of a finish is directly proportional to the quality of its resin and the thoroughness of the surface preparation.
Conceptual Frameworks and Mental Models How To Plan Fence Painting On a Budget
Navigating the logistics of exterior wood care requires mental models that prioritize “Systemic Equilibrium.”
1. The “Open-Pore” Framework
This model treats the fence as a living respiratory system. Because wood is hygroscopic, it will always absorb moisture from the ground and the air. The goal of a budget plan is to use a coating that is “Vapor-Open.” If the “skin” of the fence is too tight (like a heavy plastic-based paint), the internal moisture will “blow” the paint off the surface. A successful budget plan prioritizes “Stains” over “Paints” to maintain this breathability.
2. The “Sun-to-Shade” Variance
This framework requires the planner to view the fence not as a single unit, but as a series of different micro-climates. The south-facing side of a fence may experience 400% more UV degradation than the north-facing side. A strategic budget allocates more material and higher-pigment concentrations to the “High-UV” sections while using lighter applications on shaded areas.
3. The “Labor-to-Lumber” Ratio
This mental model posits that the wood is the cheapest part of the equation. If a fence costs $3,000 in materials and the labor to paint it is valued at $2,000, a failure in the coating that causes the wood to rot effectively wastes $5,000. The logic dictates that the “Budget” should never be cut at the expense of “Substrate Protection.”
Key Categories of Fence Coatings and Substrate Trade-offs
A comprehensive effort in how to plan fence painting on a budget involves a technical comparison of the three primary coating families.
The decision logic often rests on “Surface History.” If the fence has never been treated, a penetrating oil or semi-transparent stain is the most fiscally responsible choice. If the fence is older and has visible defects, a solid color stain provides the necessary “Hide” without the extreme peeling risks associated with traditional house paint.
Detailed Real-World Scenarios How To Plan Fence Painting On a Budget and Decision Logic
Scenario A: The New Pressure-Treated Pine Fence
-
The Conflict: High moisture content and “factory glaze” preventing paint adhesion.
-
The Strategy: Wait 4–6 months for “Weathering,” then apply a high-quality semi-transparent oil.
-
The Logic: Painting new pressure-treated wood immediately is the most common cause of budget failure. The wood must “dry down” below 12% moisture. Waiting is a zero-cost strategy that doubles the life of the finish.
Scenario B: The Inherited, Grayed Cedar Fence
-
The Conflict: Massive UV degradation (dead wood fibers) and silvering.
-
The Strategy: Chemical “Brightening” followed by a high-pigment solid stain.
-
The Logic: You cannot paint “gray” wood; the paint will be sticking to dead fibers that will simply fall off. Using a budget-friendly oxygen bleach wash removes the dead layers, providing a sound “anchor” for the new coating.
Planning, Cost, and Resource Dynamics
The economic profile of a fence project is defined by “Surface Area” and “Porosity.”
The “Opportunity Cost” of a “cheap” painting project is the “Remediation Gap.” If a homeowner saves $200 by using a sub-standard paint but has to spend 40 hours of their own time scraping it off three years later, they have effectively “paid” themselves less than minimum wage to perform a grueling manual task.
Tools, Strategies, and Support Systems How To Plan Fence Painting On a Budget
-
Moisture Meters (Pins or Pinless): The only way to verify the wood is ready. A budget meter ($30) is the best insurance policy against delamination.
-
Oxygen Bleach (Sodium Percarbonate): Unlike chlorine bleach, it kills mold without destroying the lignin (the “glue”) that holds wood together.
-
Pump-Up Garden Sprayers: An incredibly efficient way to apply cleaners and thin stains on a budget, requiring far less material than a brush.
-
Cardboard Shields: A zero-cost way to manage “Overspray.” Using old shipping boxes to shield the ground and nearby plants.
-
Stiff-Bristle Synthetic Brushes: Essential for “Back-Brushing”—the process of working the paint into the grain after it has been sprayed.
-
Sand-Back Strategy: Using a pole-sander (standard for drywall) to quickly knock down “Fuzzed” wood fibers after cleaning, ensuring a smoother, longer-lasting finish.
-
Bulk Purchasing: Buying in 5-gallon pails rather than individual gallons typically yields a 15–20% cost saving.
Risk Landscape and Failure Taxonomy
Fence painting failures are systemic responses to an overwhelming environment.
-
Type I: Peeling / Flaking. The result of “Film-Forming” paint on wet or un-sanded wood.
-
Type II: “Fuzzing.” Caused by using a high-pressure washer too close to the wood, which shreds the fibers and creates a “Velvet” texture that traps moisture.
-
Type III: Premature Fading. The result of using a transparent coating in a high-UV zone without sufficient “Transoxide” pigments.
-
Type IV: Ground-Contact Rot. When the paint stops at the grass line, allowing moisture to “wick” up the back of the boards.
Governance, Maintenance, and Long-Term Adaptation How To Plan Fence Painting On a Budget
A budget-friendly project is the beginning of a “Stewardship Cycle.”
The Maintenance Checklist:
-
Annual Low-Pressure Wash: Using a garden hose to remove dirt and bird droppings, which are acidic and eat through resins.
-
The “Splash-Back” Inspection: Checking the bottom 6 inches of the fence for signs of soil-staining or mold.
-
Hardware Tightening: Rusting nails can cause “streaking” down the paint; replacing them with stainless or galvanized screws is a high-ROI maintenance task.
-
Vegetation Clearance: Maintaining a 2-inch “Air-Gap” between the bottom of the fence and the mulch/grass ensures the wood can dry.
Measurement, Tracking, and Evaluation
-
Quantitative Signal: Water Bead Test. If water no longer beads on the surface, the hydrophobic resins have eroded, and a “Maintenance Wash-and-Recoat” is required.
-
Qualitative Signal: “Chalking” Test. Rubbing a hand across the surface; if it comes away with a white powder, the binder has failed.
-
Leading Indicator: Splitting / Checking. Small cracks in the top of the posts indicate the wood is losing internal moisture too fast; an “Oil-Refresh” is needed on the end-grain.
Common Misconceptions and Strategic Errors How To Plan Fence Painting On a Budget
-
“I’ll use the leftover interior paint.” Strategic Error: Interior paint lacks the elasticity and biocides needed for exterior survival; it will fail within months.
-
“Pressure washing is the fastest way to prep.” False: It often does more damage than good. Chemical cleaning is safer for the wood.
-
“Painting both sides is twice as expensive.” Nuance: It is actually essential. Painting only one side causes “Differential Drying,” leading the boards to warp and pull the nails out.
-
“The color doesn’t affect the life of the paint.” False: Darker colors absorb more heat, leading to more structural movement and faster resin breakdown.
-
“I should wait until the fence is gray to paint it.” Strategic Error: Gray wood is damaged wood. Paint as soon as it is dry enough to accept a coating.
-
“Two coats is always better.” Nuance: With penetrating stains, you can only apply what the wood can absorb. “Over-applying” leads to a sticky, non-drying mess.
Ethical and Practical Considerations
In the context of how to plan fence painting on a budget, there is an “Ecological Ethics” component. Fences are often located near gardens and groundwater. A budget plan that utilizes high-VOC, solvent-based stains is an environmental risk. A premier plan prioritizes “Bio-Based” or high-quality water-borne systems. Practically, we must also consider the “Community Ethics”—a peeling, poorly maintained fence can lower the property value of an entire block. Stewardship is a civic responsibility as much as a financial one.
Conclusion
The preservation of a residential fence is a victory of “Planning over Pigment.” To master how to plan fence painting on a budget is to acknowledge that the substrate is the master of the coating. ” A definitive fence project is one that functions as a sophisticated, sacrificial shield—protecting the structural timber while allowing the natural character of the property to remain a stable and vibrant part of the landscape for decades.